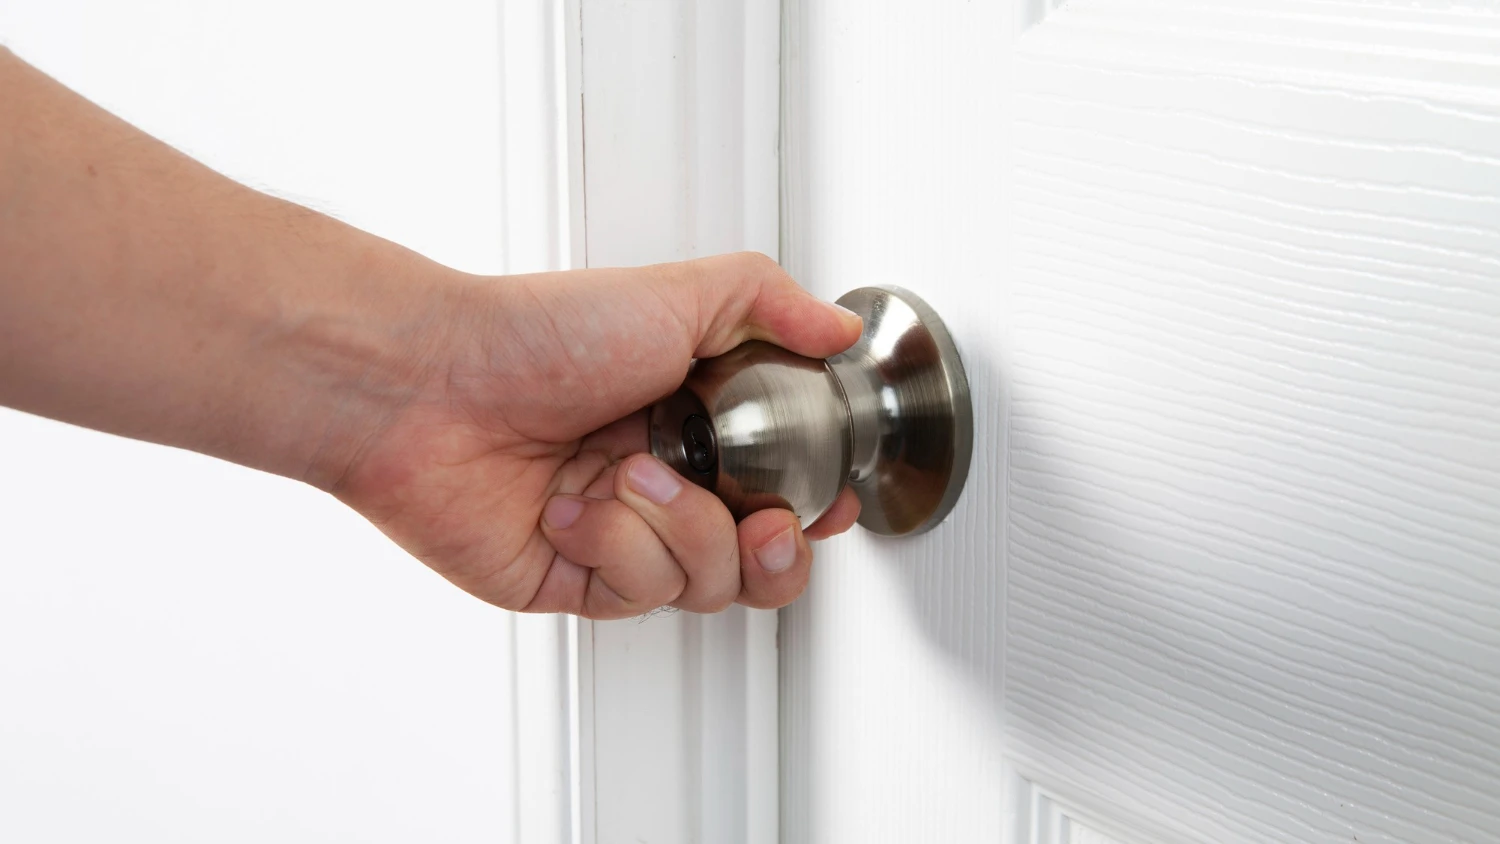
Ever held a door knob in your hand after just trying to open the door? If you’re nodding in exasperation, it’s time to roll up your sleeves and tackle a door knob replacement.
Not to worry, though. This project is a satisfying DIY task that can refresh your door’s look and functionality.
Tools and Supplies You’ll Need
Before beginning, ensure you have the following tools and supplies ready:
- Screwdriver (Phillips or flat-head depending on screw type)
- New door knob kit
Depending on your door and the new knob, you might need:
- A chisel and hammer (for resizing the latch plate area)
- Metal file or sandpaper (for fine adjustments)
- Tape measure (for precise positioning of knob and strike plate holes)
- Pencil (for marking locations for drilling and component placement)
- Power drill (for driving screws or drilling new screw holes if necessary)
Preparation and Initial Steps
- Skill: beginner
- Estimated time: 15-20 minutes
- Cost: from $12
Identify Your Existing Door Knob Type
First off, inspect your current door knob. Is yours a single cylinder, requiring a key only on one side? Or is it a double cylinder with keyed access on both interior and exterior sides? This will dictate the replacement parts you need.
Related: Different Types of Door Knobs and Handles
Also, note if it’s a privacy knob type with a push-button or turn-button lock instead of a key. Take pictures of your existing hardware before disassembly so you can match components properly.
Inspect Door Condition
Before installation, confirm your door is hung straight within its frame, closing and locking properly without rubbing or binding.
Inspect around the knob holes for any cracks or defects you may need to address before inserting new hardware.
If you discover damage or alignment issues with the door itself, you’ll need to resolve these prior to attempting merely a knob replacement.
Safety First:
- Work in a well-lit area to avoid errors.
- Wear protective gear like safety glasses.
- If possible, have someone around in case you need an extra hand.
If your existing knob has an electronic component, make sure to turn off circuit breaker power to avoid potential shock hazard during removal.
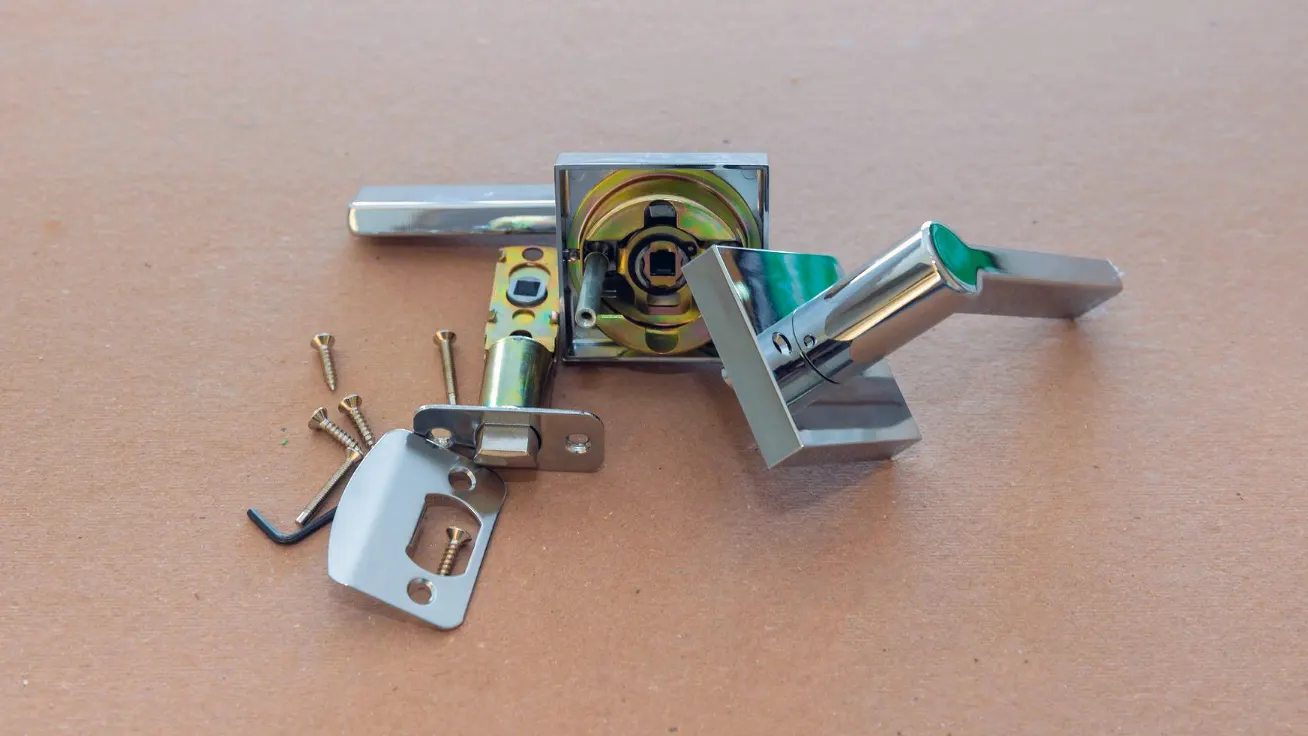
How to Remove Your Old Door Knob
Here’s how to tackle the old door knob:
| Step | Description |
| 1 | Locate the screws on the collar plate of the door knob and remove them with a screwdriver. |
| 2 | Separate the two knob pieces by pulling them apart. If they are stuck, use a flathead screwdriver to gently pry them apart. |
| 3 | Once the two knob pieces are separated, pull out the latch assembly from the door. If necessary, use a hammer and chisel to remove any excess wood from the hole before pulling out the assembly. |
| 4 | Finally, remove the strike plate from the door jamb by removing the screws with a screwdriver. |
Now let’s see in details:
Start by unscrewing and removing any decorative plates or rosettes surrounding the interior and exterior knobs.
Unscrew the Knobs

Use a screwdriver to loosen the screws holding each actual door knob in place. Some knob shafts may simply pull straight out, while others will need to be unscrewed counterclockwise from the component penetrating into the door itself. Carefully set the knobs aside.
Remove Latching Mechanism
The latch assembly will be held in place by two long screws driven into the edge of the door. Use a screwdriver to remove these screws, grabbing the mechanism when freed so it doesn’t drop inside the door interior.
If replacing a double cylinder knob, first use needle nose pliers to remove the small c-shaped clips from both sides of the central keyed shaft before pulling components apart.
Take Out Strike Plate
Finally, use a screwdriver to remove the two screws holding the strike plate (the metal piece into which the latch closes on the door jamb). Carefully pull this free from the jamb.
If components refuse to budge, don’t force them initially. Apply a bit of WD-40 and wait a few minutes.
Preparing Knob Hole Area for New Knob
Once all the components are removed, thoroughly clean knob and latch holes with a rag to remove old paint buildup or debris in preparation for installation of new components.
If upgrading to a larger knob, ensure the existing hole can accommodate it or adjust as necessary.
Related: How to Properly Measure for New Door Knob and Handle
How to Install the New Door Knob
With the old knob out, let’s install the new one:
Mount Latch Mechanism

Start by inserting the new latch mechanism. Ensure the curved part of the latch faces the direction the door closes.
Then use a power drill (if necessary) and screwdriver to drive provided screws firmly into place securing the latch.
Install Interior Knob
Refer to your new knob assembly’s specific manufacturer instructions for proper sequence of components. Typically, a decorative rosette and brass shank get stacked onto the interior knob, then fed together through the smaller hole nearer the door’s edge.
Ensure any alignment tabs are oriented into their slots so components stack properly without slipping.
Once the shank penetrates the door’s edge, screw the longer screws into their vacant holes to create a firm anchor on opposite sides of the door. Tighten the knob and shank together until snug.
Attach Exterior Knob
Perform the same operation from the exterior side, stacking components in proper order then feeding the shaft through to meet the interior shank. The knobs should be oriented with keyholes vertically aligned.
Carefully tighten knob, shank, latch screws simultaneously to draw everything snugly into alignment without over-tightening. Reinstall any c-clips if present.
Adding the Strike Plate

With knobs securely installed, now ensure the door latches properly when closed by aligning your new strike plate appropriately.
Align and Install Strike Plate
Close the door lightly to witness where the plunger end of the latch lands on the jamb when engagement occurs. Mark this location clearly with pencil.
Align the new strike plate right at this mark, with plunger end centered directly over the rectangular opening within plate. Drill pilot holes if necessary, then utilize a screwdriver to firmly anchor the plate.
Strike plate typically anchors into wooden jamb only, so make sure screws don’t penetrate all the way into the door frame interior.
Note: The door should latch effortlessly—if not, you might need to adjust the position of the strike plate.
Testing and Final Touches

Now, test your handiwork:
- Turn the knob and open the door a few times, checking for a smooth action.
- Lock and unlock the door, ensuring the mechanism engages correctly.
- If needed, lightly lubricate the latch with graphite powder for silkier movement.
Troubleshooting
If you encounter any issues during installation or testing, don’t stress. Here are some common troubleshooting tips to help you overcome any obstacles:
- Ensure you have the correct type of door knob for your door. Some knobs are designed for specific door thicknesses or styles, so double-check your measurements and material compatibility.
- If the latch isn’t extending or retracting properly, check that the latch plate is properly aligned with the strike plate and that the screws holding it in place are tightened securely.
- If the door knob seems to be sticking or jamming, try applying a small amount of lubricant to the latch assembly and knob mechanism.
- If you’re having difficulty removing the old door knob, try using a penetrating oil or tapping the knob with a hammer and screwdriver to loosen it.
Additional Tips and Considerations
Choosing a knob that enhances your door’s charm is crucial. Match the finish of your door knob with other hardware in your home for a cohesive look.
Remember, safety first when dealing with electronic locks—cut the power at the breaker to prevent any electrical mishaps.
FAQs
How often should I replace my doorknob?
Doorknobs don’t have an expiration date, but consider a replacement whenever your knob becomes loose/damaged or if it malfunctions.
What if the new doorknob doesn’t fit the existing hole?
You’ll need to expand hole using spiral reamer drill bit or circular file. Widen in small increments, testing fit until knob assembly inserts cleanly.
What if the old knob is stuck?
Try lubricating stuck parts with penetrating oil. If still no luck, carefully chisel/drill around stuck components.
Can I rekey the new doorknob to fit my existing key?
Yes, many locksets allow rekeying to match your current key by inserting original key and turning special rekey mechanism.
Can I upgrade my existing knob to an electronic smart lock?
Yes, many electronic deadbolts and smart locks are designed to install onto existing door preparations. Carefully follow new product requirements.
u003cstrongu003eWhat if I want to change my knob finish type?u003c/strongu003e
Carefully note existing door hardware finishes (satin nickel, oil rubbed bronze etc.) and match style/finish for replacement knob.
Before You Go…
Now that you know how to replace a doorknob like a pro, it’s time to keep your new hardware looking its best. Our in-depth article on how to clean doorknobs without damaging them will provide you with the knowledge and techniques to keep your doorknobs sparkling and tarnish-free.
Related Articles: